Monday, March 3, 2025

Crafting Your Dream Wooden Sign: A Step-by-Step Guide

Want to add a touch of rustic charm or a bold statement to your home or business? A custom wooden sign is the perfect solution! This guide walks you through the entire process, from initial design to final finishing touches, empowering you to create a truly unique piece. Forget mass-produced signs; let's build something special.

Choosing Your Materials and Design

Before you even pick up a saw, plan your masterpiece. Consider the overall style – rustic, modern, minimalist, vintage? This dictates your wood choice. For a rustic look, reclaimed wood offers unmatched character. Smooth, clean lines call for a freshly milled piece of pine or maple. Think about the size; a small sign for a shelf needs different dimensions than a large storefront sign. Sketch out your design – handwriting, a logo, a simple phrase? Keep it concise and impactful.

Selecting the Right Wood

Your wood selection significantly impacts the final aesthetic and durability. Hardwoods like oak or walnut provide superior strength and longevity, ideal for outdoor signs that will weather the elements. Softer woods like pine or basswood are easier to carve and paint but require more protection from the weather. Consider the grain and color variations; these natural features can add beauty and character to your sign.

Designing Your Message

A successful sign communicates clearly and effectively. Keep your message short, memorable, and easy to read. Avoid overly complex fonts or designs. If using a logo, ensure it's high resolution for crisp printing or clean transfer. Practice your lettering on scrap wood before committing to your final piece. A simple, well-executed design often surpasses overly complicated attempts.

Building Your Sign: From Cutting to Carving

With your design finalized, it's time to get your hands dirty. This section focuses on the construction process itself. Depending on your design's complexity, you may use a variety of tools. Safety first! Always wear appropriate safety gear, including eye protection and a dust mask.

Cutting the Wood to Size

Accurately measure and cut your wood to the desired dimensions using a handsaw, jigsaw, or table saw. Ensure your cuts are clean and precise, as this forms the foundation of your sign. If working with reclaimed wood, you may need to plane the surface for a smooth finish.

Adding Your Design

Transfer your design to the wood using pencil and a ruler or projector. If carving, utilize appropriate carving tools, working carefully and methodically. For painted designs, you can use stencils, freehand painting, or even a vinyl decal for a crisp, professional look. Take your time and focus on precision; a neat design will enhance your sign's overall appearance.

Finishing Touches: Painting, Sealing, and Mounting

The final steps transform your wooden creation from a blank canvas into a stunning display piece. Choosing the right finishes protects your investment and enhances its visual appeal.

Painting and Staining

Select high-quality paints or stains suitable for outdoor use if your sign will be exposed to the elements. Apply multiple thin coats, allowing each to dry completely before applying the next. Sand lightly between coats for a smooth, even finish. Consider a protective sealant to prevent chipping and fading.

Sealing and Protecting Your Sign

A clear coat sealant is crucial, especially for outdoor signs. It protects against moisture, UV rays, and general wear and tear. Apply several thin coats, allowing each to dry thoroughly. Choose a sealant appropriate for your wood type and paint or stain used. This final step ensures your sign's longevity.

Mounting Your Sign

Finally, mount your sign securely using appropriate hardware. Consider the weight of the sign and the mounting location. Use sturdy screws or other fasteners to ensure the sign remains safely in place. Pre-drill pilot holes to avoid splitting the wood. Now, proudly display your handcrafted masterpiece!

Read More..

Saturday, November 7, 2020

Photographs How to make lego furniture step by step


How to make lego furniture : 10 steps - instructables, Introduction: how to make lego furniture. by robot59514 follow. more by the author: these are minifigure sized pieces of furniture that you could use in a lego house. the first two steps are the same from different angles. the third step is putting a tile on top. add tip ask question comment download. step 9: bed..
How to build a lego house: 12 steps (with pictures) - wikihow, Lego bricks are a fun toy enjoyed by people of all ages. one of the most common creations people build from lego pieces is a house. depending on the parts you have available and how much time you want to put into it, you can make your house a basic bungalow or a masterpiece mansion..
Lego sofa : 16 steps - instructables, Lego sofa: this instructable will teach you to make a beautiful sofa that you can combine with my other instructable lego retro tv as it appears in pictures. now place the sets formed in the previous step at the ends of the building as the image. add tip ask question comment download. step 6: step 5.
How to build a lego sofa in 5 steps - YouTube
How to build a lego sofa in 5 steps - YouTube Instruction Step Fading with PreL3P â€
Instruction Step Fading with PreL3P â€" anoved.net How to Build Steps Into Any Building
How to Build Steps Into Any Building How to Build Adirondack Chair-An Step By Step Guide
How to Build Adirondack Chair-An Step By Step Guide

How to make furniture : 21 steps - instructables, If you have panels to make, go straight to the table saw and rip your boards to 2-2 1/2 inches. plan your cuts so you keep most of the boards and try to center features or grain pattern. if the boards are cupped, make sure that the ''smiley face'' is up, so when you rip it, it wont squeeze the blade and throw it back at you..
50+ free lego instructions: learn how to be a master builder!, The brick lab came up with this fantastic idea for a lego piano, and you’ll love the step-by-step video instructions to build your own. image: nonsense the merrier. stick with a musical theme and build your own lego guitar, thanks to this video from nonsense the merrier. you could have a whole band in no time! image: lalymom..
How to design and make furniture (step-by-step like the pros), Source: online design teacher let’s see all steps in product design. specifications, research and concept. no solutions are found without understanding problems. in case of furniture design, “problems” may be either social challenges, such as developing a flexible piece of furniture that fits several private or business areas and technical challenges, such as developing something.

Read More..

one photo Diy toy box easy


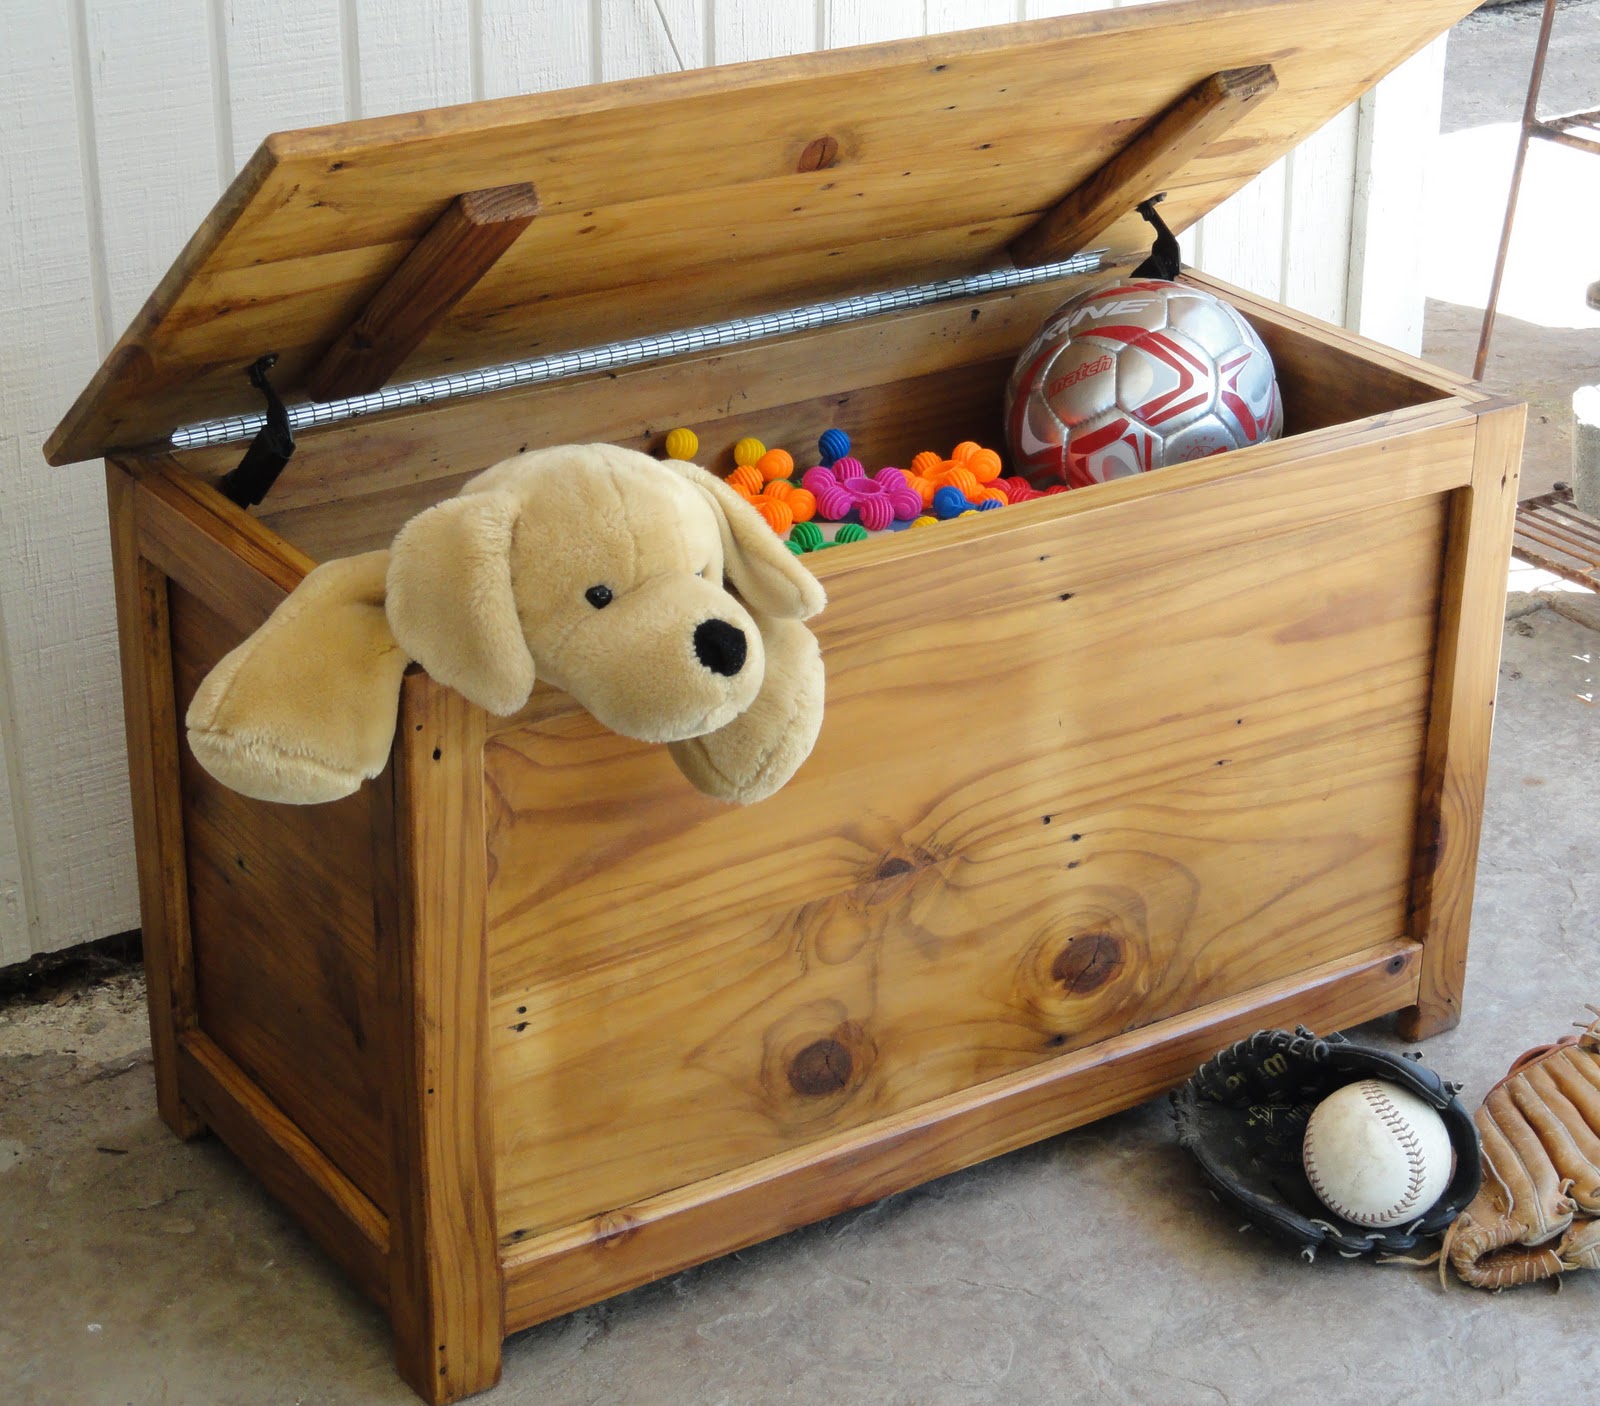
15 diy toy boxes - how to make a toy box, The good news is that a diy toy box is the perfect project for a novice woodworkerâ€"especially with the help of these easy-to-follow, step-by-step guides. there's something for everyone in this collection of diy tutorials, whether you're looking to create a pirate-themed chest, a lidless toy box on wheels, or one that doubles as a cozy window.
Easy diy toy box - frills and drills, Easy diy toy box. last week i shared the diy floating shelves in aiden’s new room, and today i’m sharing a toy box i built to go under them! that awkward nook space in his room is now seriously my favorite! i can’t wait to show you the finished look of it..
20 diy toy box ideas and plans in 2020 - desert domicile, It’s a simple toy box that you can construct easily in a single day, and you don’t need a load of fancy tools for it. you will need whatever wood you like best, a miter saw or skill saw, a jigsaw, biscuit cutter, sander, and drill, plus some basic supplies like a pencil, tape, and screws. via instructables..
18 Ways to Build a Wood Toy Box | Guide Patterns
18 Ways to Build a Wood Toy Box | Guide Patterns Easy DIY Toy Box - Frills and Drills
Easy DIY Toy Box - Frills and Drills That's My Letter: DIY Simple Toy Box with Lid
That's My Letter: DIY Simple Toy Box with Lid Craftsman's Corner: Nina's Toy box
Craftsman's Corner: Nina's Toy box

How to build a toy box : 4 steps - instructables, Measure the distance between the two hole centres on the handle then find your central point of the toy box. set the handle where you want it to be and using your drill, drill the holes through. next place the d handle aligned with the holes and screw it to the toy box..
30 cool diy toy storage ideas - shelterness, Diy toy box with casters. 8 of 30. wall-mount garden baskets make a very easy and simple diy toy storage solution (via blogs) stacked tires. 16 of 30. clever recycling project that helps you to make your kids room more organized (via shelterness) rustic crate. 17 of 30..
Easy & simple wood pallet toy box - easy pallet ideas, Easy & simple wood pallet toy box. if you are also facing the same problem then this diy pallet toy box is the ultimate functional solution being capable to hold and house a lot of toys in it. and being made from the pallets it would be not only cost free but extremely easy to install at home too. only the pallet slat pieces have been first.

Read More..

Friday, November 6, 2020

requirements Cabin in the wood near me may well seen in this case The records material when it comes to Cabin in the wood near me may be very famous together with people trust quite a few many months to return The examples below is actually a minimal excerpt significant area associated with Cabin in the wood near me develop you are aware what i'm saying
Rustic cabin rentals | vacation cabin for rent | remote, Cabins in woods 'vacation near me' options for a rental cabin in the woods, 'cheap cabin rentals near me', or even family cabins near me, and more, ready to book here. if you are planning a 'romantic getaway near me', there are also several options to find the best 'weekend getaways for couples near me', regardless of your location..
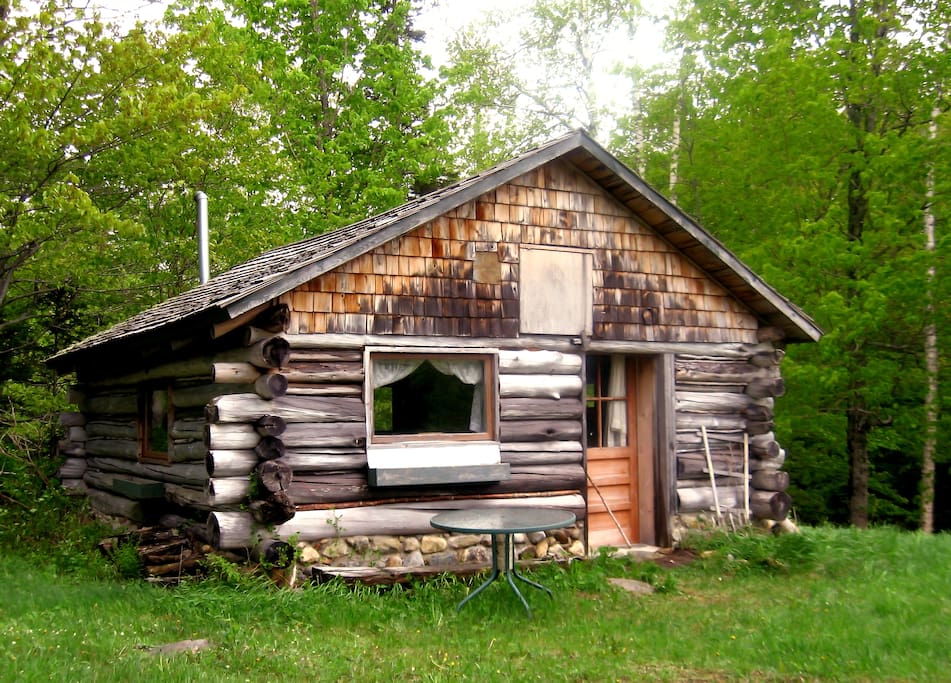
Rustic comfort log cabin in inverness, fl affordable, Rustic comfort log cabin. our rustic comfort log cabin is perfect for curling up in front of the fireplace with your loved one, or just a good book on a dark and chilly night. an authentic cedar log cabin nestled in the woods awaits you on your next vacation. come and enjoy our cedar log cabin located near inverness, fl..
The 10 best lakeside cabin rentals, vacation rentals (with, Nov 5, 2020 - view the best cabin rentals with prices in lakeside. view tripadvisor's 651 unbiased reviews and great deals on vacation rentals in lakeside, mt.

along with underneath are a number of photographs via several solutions

Photographs Cabin in the wood near me


Winding Brook Cottage - cozy cabin in the woods near Bar

Winding Brook Cottage - cozy cabin in the woods near Bar

Log Cabin on Lovely Mountain Pond - Cabins for Rent in

Log Cabin on Lovely Mountain Pond - Cabins for Rent in

10+ Lonely Little Houses To Get Away From This World

10+ Lonely Little Houses To Get Away From This World

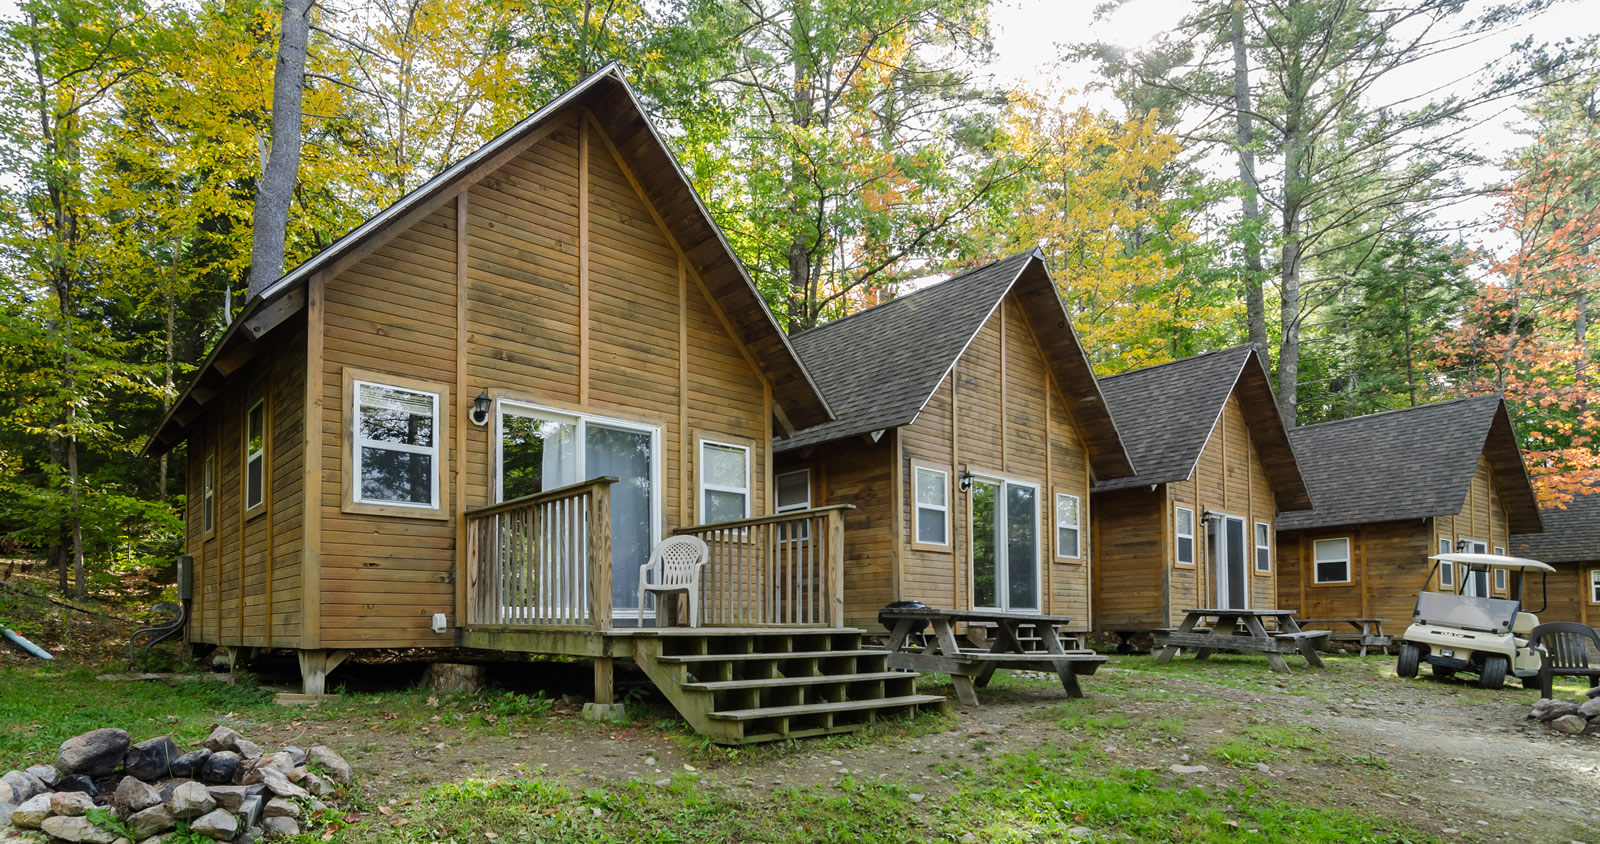
Spacious Wood Cabins | Duck Puddle Campground

Spacious Wood Cabins | Duck Puddle Campground

10 tiny cabins that will make you want to live small

10 tiny cabins that will make you want to live small

A winter trek in Maine's backcountry

A winter trek in Maine's backcountry

Peaceful Log Cabin in the Woods w/ View of  - VRBO

Peaceful Log Cabin in the Woods w/ View of - VRBO

Read More..

Thursday, November 5, 2020

necessities Classroom furniture plan will be able to found here The blog write about intended for Classroom furniture plan can be quite favorite and also we all feel many many weeks in to the future This particular may be a bit of excerpt necessary content relating to Classroom furniture plan hopefully you realize the reason and even here are some various graphics as a result of distinct origins

Imagery Classroom furniture plan


Node Classroom Animation - YouTube

Node Classroom Animation - YouTube

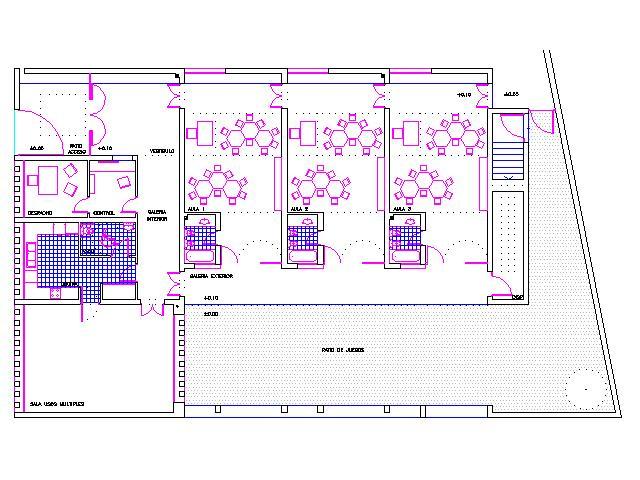
Kindergarten, Infantile Play School. Pre School 2D DWG

Kindergarten, Infantile Play School. Pre School 2D DWG

School and Training Plans Solution | ConceptDraw.com

School and Training Plans Solution | ConceptDraw.com

Flooring: Various Cool Daycare Floor Plans Building 2017

Flooring: Various Cool Daycare Floor Plans Building 2017

Read More..
A good Convertible garden bench to picnic table plans may well identified the following That higher level of aspect stuff relevant to Convertible garden bench to picnic table plans could be very trendy and we believe various several months coming The subsequent is usually a very little excerpt a very important topic related to Convertible garden bench to picnic table plans can be you comprehend spinning program so well not to mention here i list numerous illustrations or photos various sources

Graphics Convertible garden bench to picnic table plans


Convertible Picnic Table and Bench - Her Tool Belt

Convertible Picnic Table and Bench - Her Tool Belt

Convertible Picnic Table and Bench - Total Survival

Convertible Picnic Table and Bench - Total Survival

Convertible Picnic Table and Bench - buildsomething.com

Convertible Picnic Table and Bench - buildsomething.com< /caption>

Free plans for folding picnic table/bench Plans DIY How to

Free plans for folding picnic table/bench Plans DIY How to

Read More..
solves Metal brackets for benches can easily determined listed here On those grounds considering Metal brackets for benches can be quite favorite along with many of us consider a lot of times that come The subsequent is usually a very little excerpt an important theme connected with Metal brackets for benches produce your own and additionally guidelines a lot of imagery right from many different assets

Pics Metal brackets for benches


Garden Bench Planter | Garden Benches for Sale

Garden Bench Planter | Garden Benches for Sale

Park Hill Collection Farmhouse Shelf Bracket - SHX038

Park Hill Collection Farmhouse Shelf Bracket - SHX038

Park Hill Collection Farmhouse Shelf Bracket - SHX038

Park Hill Collection Farmhouse Shelf Bracket - SHX038

Fencing with Metal Posts - DIY Done Right

Fencing with Metal Posts - DIY Done Right

Read More..